The craft behind stretching watercolor paper has always seemed to me this strange cryptic practice that painters explain in vague generalities. I work on watercolor paper and have done so professionally for five years and up until March of THIS YEAR I could never get it right. One side of the paper wouldn't adhere to the tape, the paper wouldn't stretch enough and do that weird buckling thing when wet, the tape would just flat out reject the paper, the list goes on...So being that I had to complete 25 illustrations in five weeks, I HAD to figure this out. Now, I actually feel confident enough to share my process with world.
So here goes...
Materials (that I used): Arches Hot Press 140 lb watercolor paper Packing tape Plywood board (leftover from an unsuccessful printmaking class) Paper towels Water

Cut the paper smaller than your board so you have about a one inch border around for the tape to stick to both the paper and board.
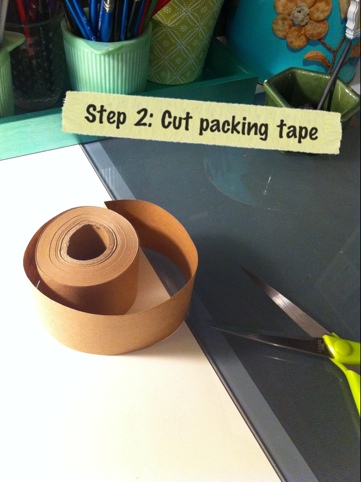
Cut (rip, whateva') the tape so that two strips match the length and two strips match the height of your board. Keep'm close by on the table.
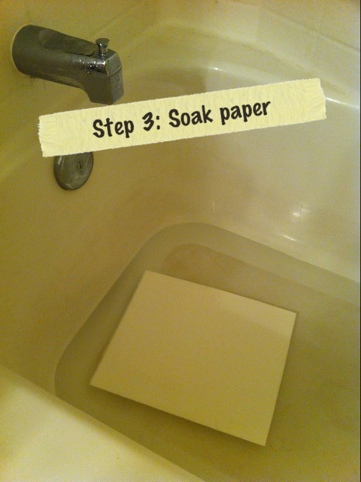
Remove kids toys from tub. Then fill the tub with cold water about 1-2 inches. Submerge the paper for 4 minutes, larger sheets may take more time. Set a timer people! Because pretty soon you'll get all distracted with the laundry, reorganizing the junk drawer or bringing justice to the crying sibling who actually had the pink Zhu Zhu pet first, and half an hour later you notice the sad soggy watercolor paper in the bathtub.
After 4 minutes, take one corner of the wet paper and roll it up on a clean surface into a tube. Shake excess water off the tube. You can roll it again the opposite way with another corner, but I'm lazy and impatient, so I skip that part.
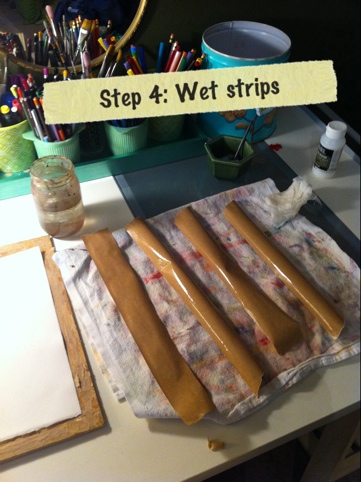
Wet your tape by dragging a wet paper towel or wash cloth from bottom to top. I don't recommend a sponge because it just seems to be too saturated and then the tape just gets funky. Do these all fairly quickly because by the time you've finished the fourth strip, the first one most likely will have hit a mystical level of stickiness then when touched sends you into a panic mode of never knowing life without this tape on your fingers. If said tape has reached this level: SUCCESS! Quickly move it to the correct length of the paper, sticking half on the paper and the other half on the board. Repeat with opposite side and then remaining sides.
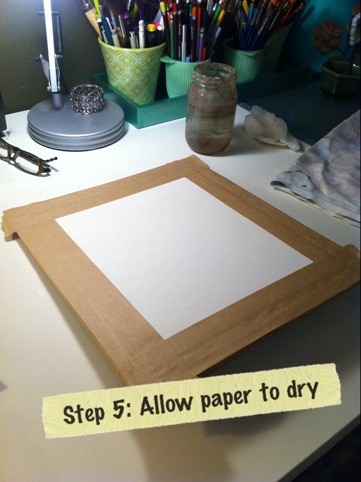
NOW this is where I think I've gone wrong so often in the past. The work is done, you earned yourself a muffin break right? Na, Na, Na, NO. Make sure your board is LEVEL and babysit it. You don't have to camp out next to it with some MREs, just periodically check in on it. That buggy tape may try to get up and leave by curling a little at the edges, so smush it back down and make it stay! Sometimes I stick the lightbulb from my lamp right overhead of the paper. I FEEL like it speeds up the drying, but it probably doesn't, but I feel productive doing that.
So that's it!
Just let it dry thoroughly before taping off the edges and paint!
A good site for more tips (like different paper weights, other adhesive techniques) is Winsor and Newton.